
How to Update the Email Address of a Scheduled Task in Plesk
Overview: How to Update the Email Address of a Scheduled Task in Plesk
This guide explains How to Update the Email Address of a Scheduled Task in Plesk step‑by‑step and why it matters for security, uptime, and performance. It’s written for small and medium businesses that rely on Blackhawk MSP for proactive, managed IT support in the Bay Area and beyond.
- ✅ Clear, actionable steps
- ✅ Best‑practice notes from our MSP engineers
- ✅ Links to related services and help
Tip: If you’re short on time, contact us — we’ll handle this for you and verify everything is working.
Follow this tutorial to update the email address of Scheduled Tasks (Cron Jobs) in Plesk.
1. Log in to your Plesk account.
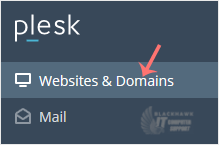
2. Click on Websites & Domains from the Sidebar Menu.
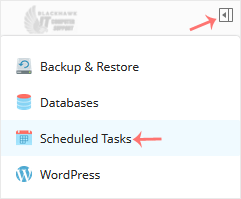
3. Click on the Pull icon in the right sidebar and choose Scheduled Tasks.
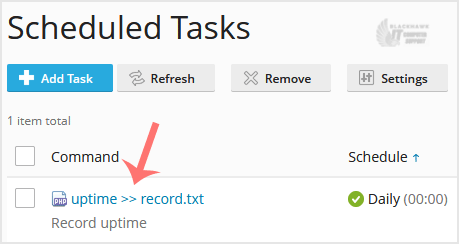
4. Under the Command list, locate your task and click on it.
5. Scroll down to the Send notifications, choose other users, and update the email address.
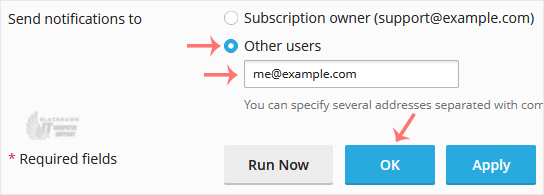
6. Click OK.
Note: If the Send notifications to option is not available, choose Every time or Errors only under Notify to enable it.
Video tutorial temporarily unavailable while we refresh links. If you need more help, please call us at 1-925-218-4000.
Need help? Blackhawk MSP can do this for you, verify success, and document the change. Call 1‑925‑218‑4000 or open a ticket.